How to add a Printer on Mac|Easy Steps
If you’re unfamiliar with the settings of your Mac, you can go over this guide and refer to your printer’s printing manual. But before we get going, remember to optimize your devices regularly continuously.
Whether you want to add or more computers to your Mac, or you want to set up a business network, here are the steps that can help you.
Connecting to a wireless printer
This is done by connecting to a Bluetooth connection or via a Wi-Fi Protected Set-up (WPS). The latter requires you to connect the printer to WiFi.
You can do this by clicking or pressing the Wi-Fi’ or Wireless’ button in your printer. After which, you also need to press your router’s WPS button.
Then again, the succeeding steps will vary based on the type of router or printer you own. In this case, it’s best to refer to your router and printer user guides for instructions.
Once the WPS is set up, you can follow these steps to help you establish a printer connection.
1.On the top left corner of your computer screen, you’ll see the Apple icon. Click that.
2. Look for System Preferences and choose the apple menu system.
3. Once done, hover your mouse or cursor to Printers and Scanners. If you have an older version of the Mac, you can see this in your Hardware labeled Print & Scan.
4. After which, you can click the plus sign under the printer’s list. Again, if you’re using the old Mac models, you will need to click Add Printer or Scanner.’ You can also see all the detected printers under the submenu Nearby Printer. Remember that you’ll need to look for the Lock icon located at the bottom of the window if you can’t find the plus sign.
5. Next, you need to choose the printer you want to add. You can see in your default tab the list of all network discoverable printers.
6. In the Use field, search and click the driver or software of the printer you want to use. Your options may include the following:
- AirPrint: This is Apple’s native printing tool that allows users to print via WiFi from any AirPrint-compatible printer. If your printer is not AirPrint-compatible, you will have to install the necessary driver from the brand’s servers.
- Your default printer.
- Choose Auto Select to download or update the correct print driver.
7. Click Add, and you’ll now see the new printer you just added to your printer list.
Printing via USB
If your printer is not equipped with networking capabilities, you can add them through a wired or USB connection.
Take note, however, that some printers may be wireless printing capable but has to be USB connected at set-up. Here are the simple steps to do this:
Connecting a printer using USB
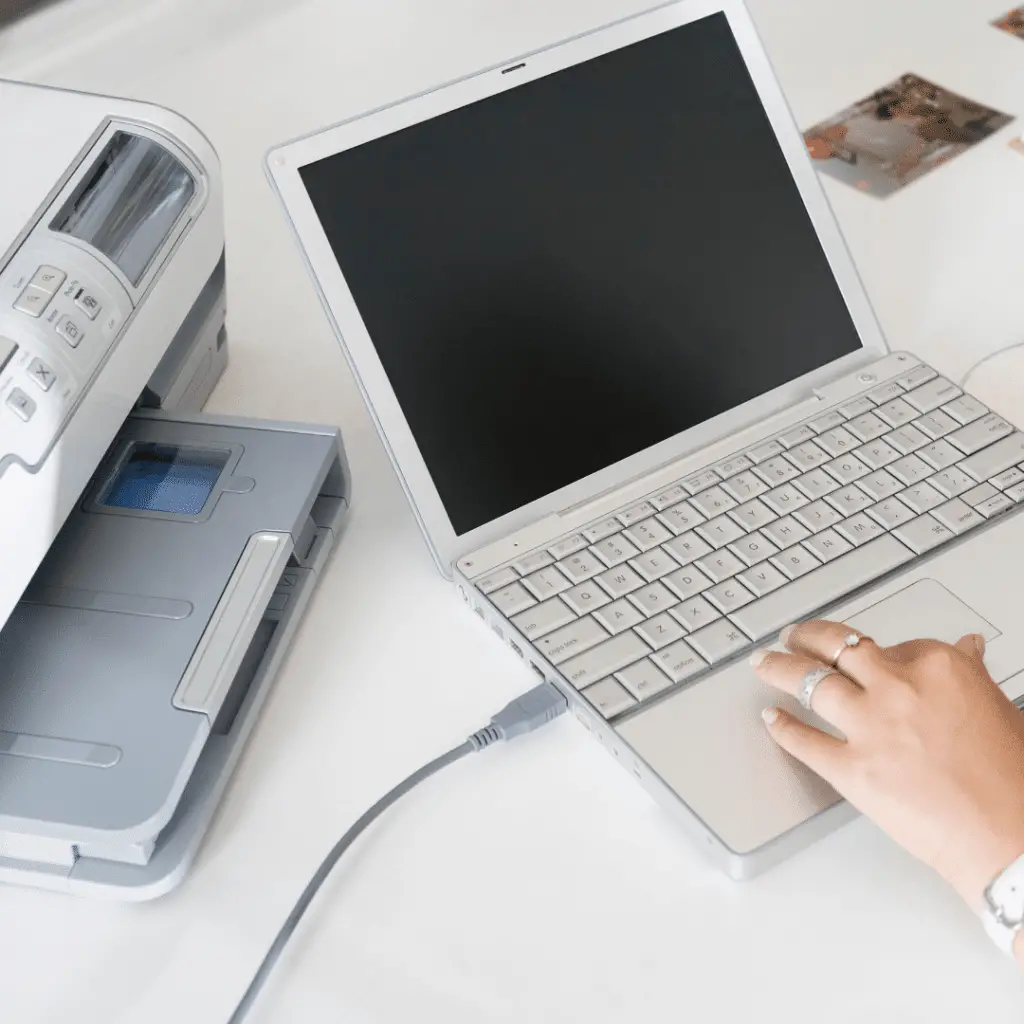
1. Ensure that the printer’s USB is plugged into your desktop or Mac laptop. Your computer will detect your USB-connected printer automatically, and it will also download the needed software. If it’s not detected automatically, you can move to step number 2.
2. On your home screen, look for the Apple icon and click on it.
3. Once done, look for System Preferences.
4. After which, look and click Printers and Scanners. Again, if you have an older version of the Mac, you can see this in your Hardware labeled Print & Scan.
5. After which, you can click the plus sign under the printer’s list.
6. Next, you need to choose the printer you want to add. You can see in your default tab the list of all network discoverable printers.
7. Look for the USB listed printer under the Kind column.
8. Click Add, and you’ll now see the new printer you just added to your printer list.
Connecting the printer by IP Address
If your printer of choice is not found in the list of connected printers, you can add them as an IP printer. Take note that the would-be added printer must be able to support the following protocols: Internet Printing Protocol (IPP), Line Printer Daemon (LPD), HP Jetdirect (Socket), and AirPrint.
To do this seamlessly, you need to know the hostname or IP address of your network printer. Aside from that, you also need to know the name of the printer software along with its model number and printing protocol. Here are the steps you need to follow:
1. First, you need to have an AirPrint-capable printer. Otherwise, you’ll have to update your printer software.
2. Look for the Apple icon and look for System Preferences.
3. Choose Software Update to install necessary updates.
If your printer is AirPrint-capable, you can proceed to these steps.
1. Turn your printer on to check if it’s displaying any kind of error.
2. Add your new printer by choosing it from the list of printers. To do this, go to the Apple menu and click Printers and Scanners under System Preferences.
3. At the bottom of the list of printers, you’ll see the add button. Click that and after which, also click the IP button to enter all the necessary printer information.
From the instructions above, you can infer that adding a printer to your Mac is relatively easy. So, try these steps and enjoy a seamless printing experience with your Apple device.
